
Happy (almost) Fourth of July everyone! :)
Aside from photography, one of my favorite pastimes I enjoy is baking! Usually, I save bigger baking projects for the birthdays of my two younger brothers, but this year, I accepted a fun challenge to make piñata cookies for the Fourth of July! John’s sister, Steph, showed me this cool Pin she found from the blogger of She Knows! Take a look at the inspiration for this challenge here!
While it had a sugar cookie, I’m pretty loyal to the sugar cookie recipe I got from a wonderful blog I found called Design Eat Repeat! Her “Seriously Perfect Cut Out Sugar Cookies” are seriously perfect. ;) & She has other fun recipes and food experiments all over her blog, too!
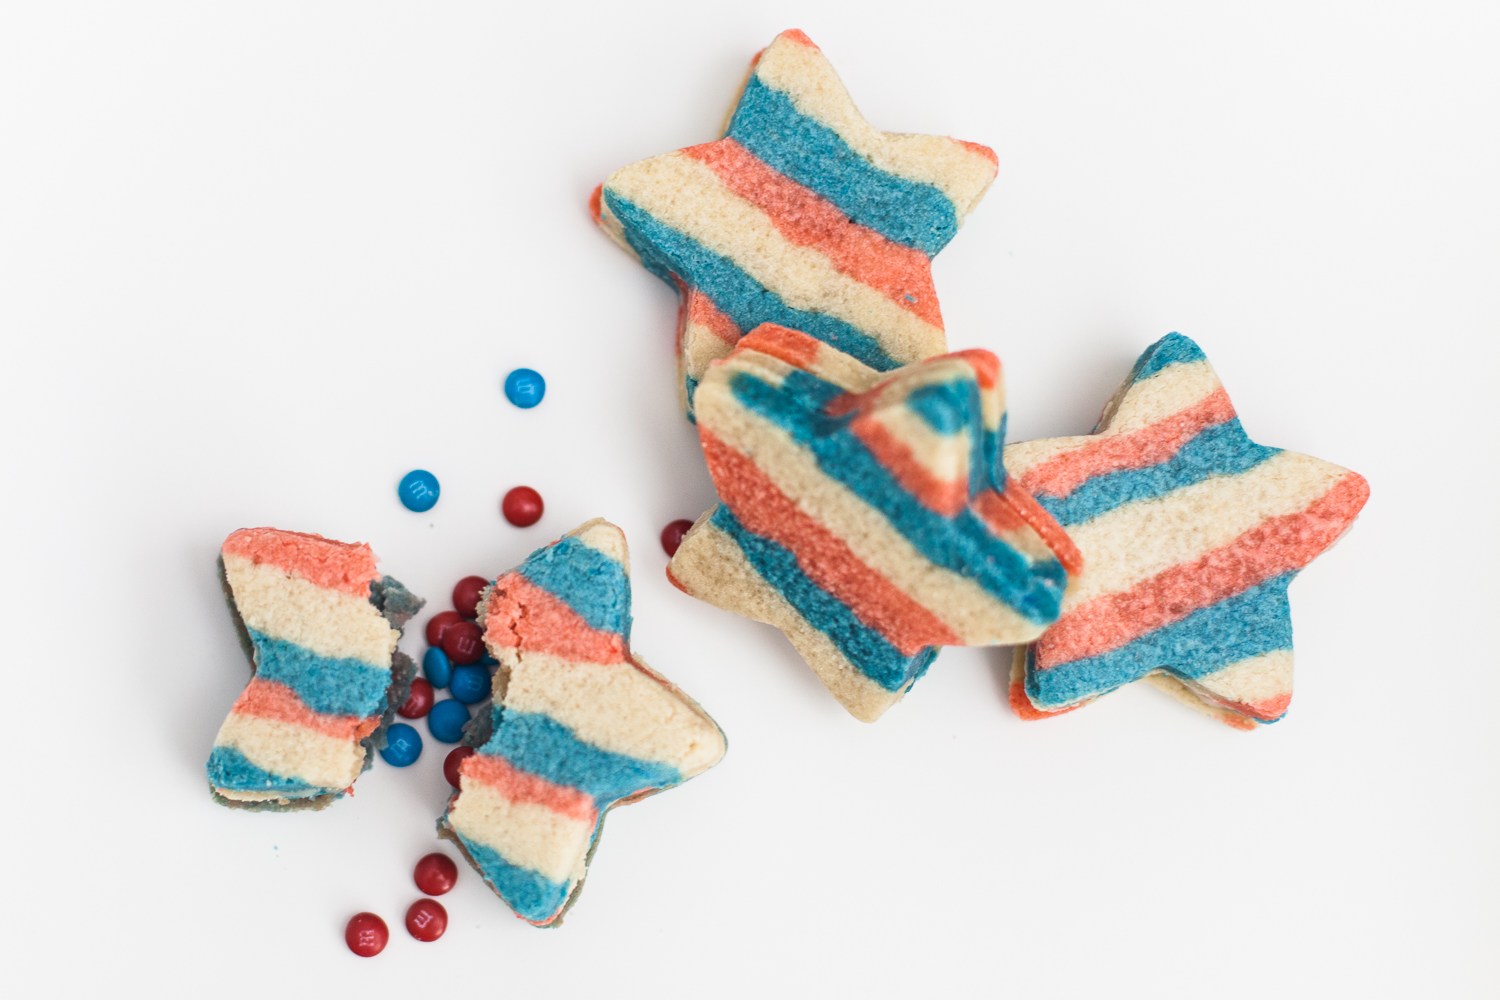
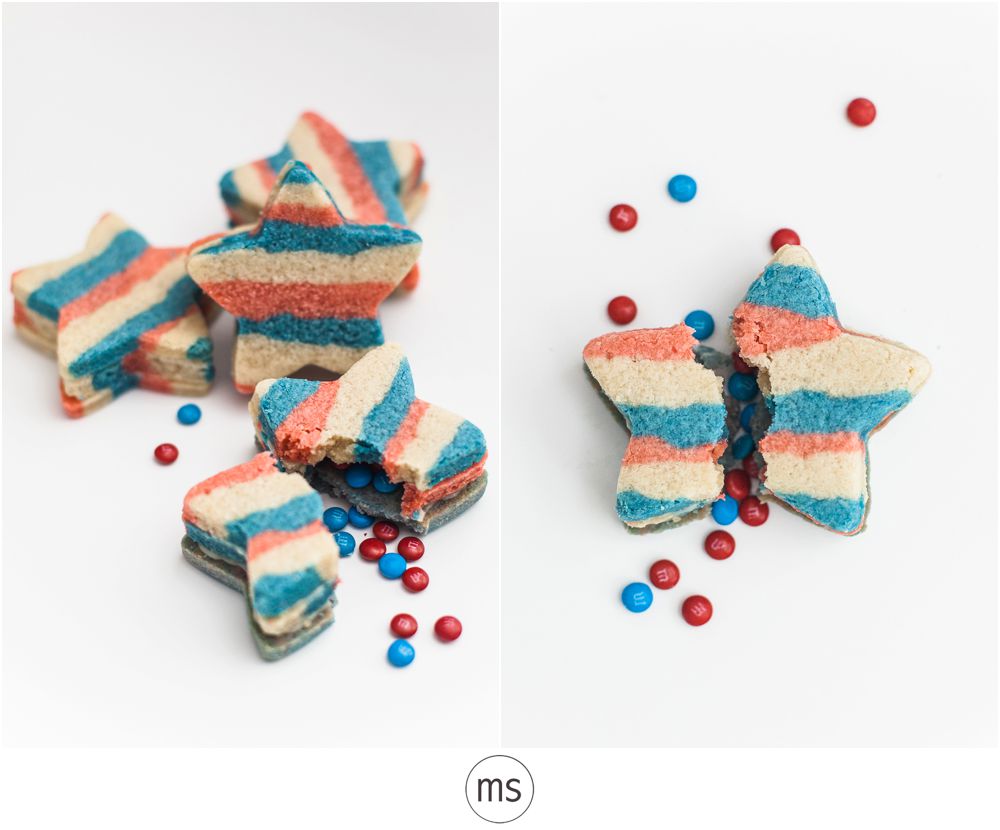
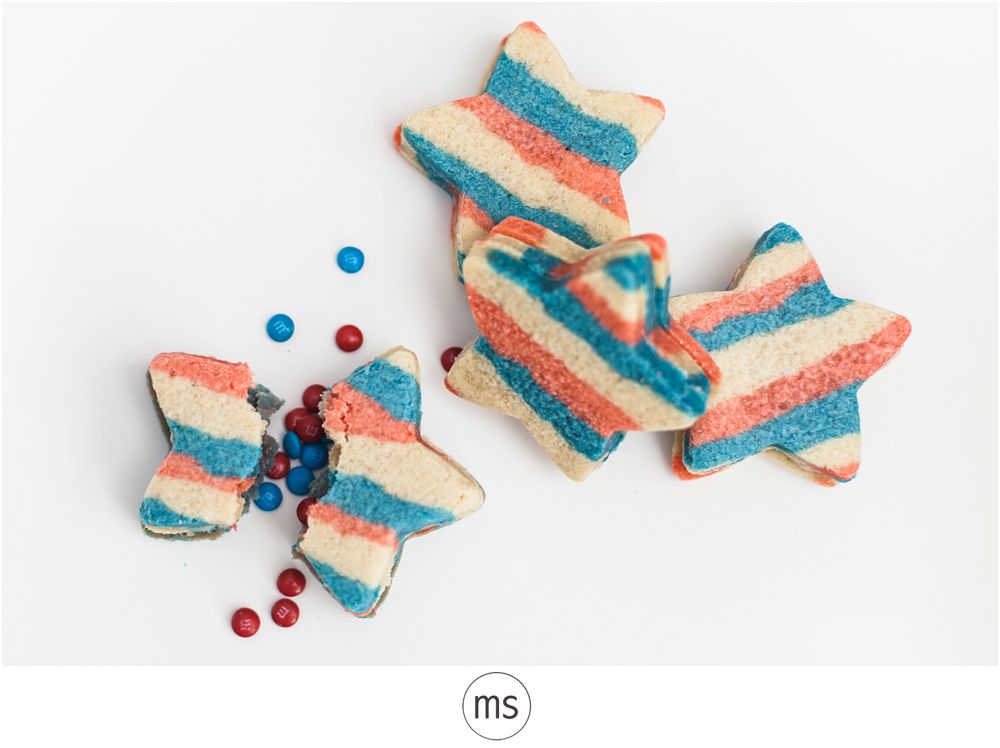
This time around, my dear friend Abi came over and helped me make the dough for the cookies! I made a couple other cookies, too, so we did a lot of baking! We definitely got an arm work out! Haha! We multiplied the Design Eat Repeat recipe by 3 and it only made six piñata cookies! Haha! I was very surprised! I’m pretty sure you could make 7 if I had cut better… But anyway, here’s a couple of the fruits of our labor with the recipe at the end! :)
*You need to freeze the cookie dough for 4 hours before baking, so keep this in mind when you’re prepping!
Fourth of July Piñata Sugar Cookie Recipe
Sugar cookie recipe source: Design Eat Repeat
Piñata cookie assembly & process source: She Knows
Ingredients
- 3 cup butter (softened for about 30 minutes)
- 3 cup white sugar
- 3 egg
- 6 tsp of vanilla
- 1 tbs almond extract (I added this as an option)
- 9 cups cake flour
- 3/4 tsp salt
- red & blue food dye
- cookie cutter of your choice
- smaller cookie cutter to cut a hole in the middle of the larger cut out
- mini m&ms (center)
- 1/2 cup powdered sugar (frosting)
- 2 tsp milk (frosting)
Directions
- In a large bowl, cream the butter and sugar together. I use a wooden spatula, but if you have a stand mixer and a paddle attachment, I’m sure it’ll save you the arm workout.
- Beat in one egg at a time and add vanilla and almond extract.
- In a separate bowl, combine flour and salt with a whisk, then add to the rest of the ingredients.
- Remove the dough and separate it into three separate dough balls. Add blue dye to one dough ball, and red to another. Make sure each color is vibrant, since they bake a little lighter.
- Use a container with approximately the same width and height of your cookie cutter, and line it with plastic food wrap.
- Using the balls of dough, take one color at a time and spread it flat across the bottom of the container. (Check out She Knows’ blog for step by step images. My hands were a bit tied while I was making these!)
- Layer the colors in the pattern of your choice until it reaches the height of your cutter.
- Cover the layered dough and freeze it for 4 hours or overnight.
- Remove dough from the container and unwrap it from the plastic. Using a sharp knife, cut slices that are approximately 1/4 inch wide. Preheat the oven to 350.
- Place them on a baking sheet lined with parchment paper and bake for 12 minutes.
- Immediately after you’ve taken them out of the oven, use the cookie cutter to cut out the cookie shapes. Work in sets of three, making sure that one of the three cookies is also cut in the center with the smaller cookie cutter. This is the hole where the mini m&ms will go in between the other two cookies.
- Let the cookies cool on the baking sheet before you move them and remove the excess cookie to help make sure they don’t crumble or break.
- Mix together the powdered sugar and milk to create the “frosting glue”. Place it into a ziplock bag and cut a tiny tip of the bag’s corner to pipe it onto the cookie.
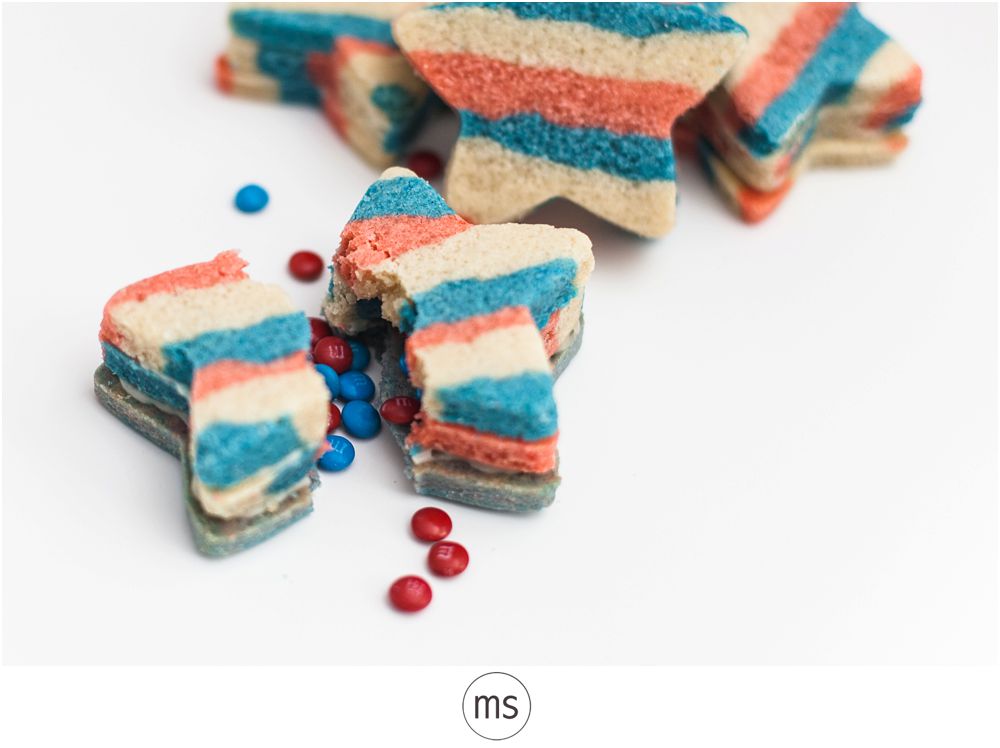
- Take the first cookie and lay it upside down so that the baked bottom is facing up. Outline the cookie with the frosting. Line up the center cookie (the cookie with the whole in the middle) on top of it and then fill the open space with the mini m&ms.
- Frost the edges of the middle cookie this time and add the last cookie on top of it with the baked top of the cookie facing up.
- EAT THEM. :)
Hope you all have a wonderful weekend with your friends and family! :)
Happy Friday!